| Version 8 (modified by mark1, 17 years ago) (diff) |
|---|
Creating a DEM from a LIDAR point cloud
This page contains instructions for creating a DEM from the ASCII point clouds acquired from the Leica ALS50 II in 2009 onwards. Instructions are given for using your ARSF data in four GIS systems:
- ArcGIS
- ENVI
- ERDAS Imagine
- GRASS
There is also a section giving instructions on how to make your DEM suitable for use in the azgcorr software.
This assumes that you have removed any noisy points that you do not wish to be used in the making of your DEM.
ArcGIS
notes coming soon...
ENVI
notes coming soon...
ERDAS Imagine
notes coming soon...
GRASS
The first step is to create a location of the required area. When this is done the ASCII point data can be loaded in. To do this use the following command:
r.in.xyz input=<LDRfilename> output=<outputmapname> x=2 y=3 z=4 fs=' '
where <LDRfilename> is the filename you want to read in, <outputmapname> is the name you wish to call this within GRASS, x, y, and z are equal to the column numbers which contain the Easting, Northing and elevation values, fs is the field separator.
Making the DEM suitable for azgcorr
To make a suitable ASCII DEM for use in the azgcorr software, the header information of the ASCII DEM file must be in a certain format. The required format is to have a header of one line (the first line of the file) with the DEM data following. The format is (as given by the azgcorr help):
or c r xm ym xx yx gi
where:
or = row order of the data [0 if South to North, 1 if North to South]
c = number of columns
r = number of rows
xm = minimum easting
ym = minimum northing
xx = maximum easting
yx = maximum northing
gi = grid size (spacing)
An example header, for a DEM of 2000 rows x 2000 columns at 5m resolution, might be: 1 2000 2000 400000 850000 410000 860000 5
Attachments (4)
-
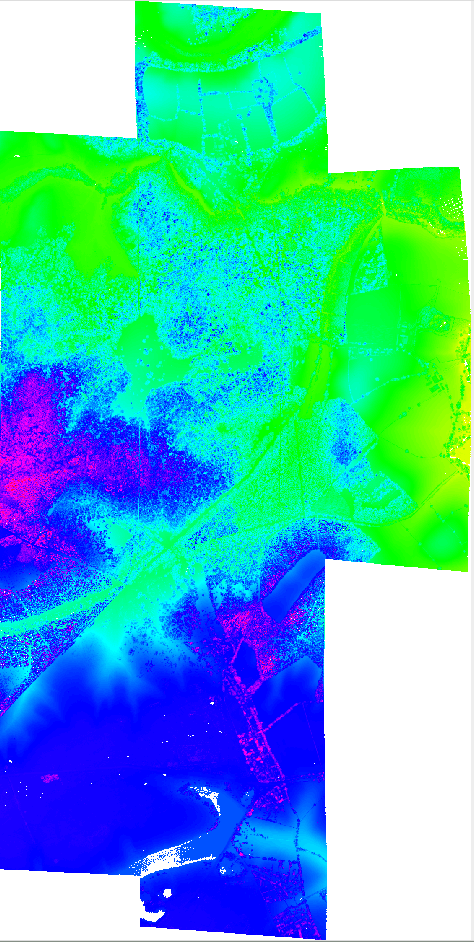
mosaic_with_holes.png
(340.5 KB) -
added by mark1 17 years ago.
Point cloud mosaic - gridded 2m
-
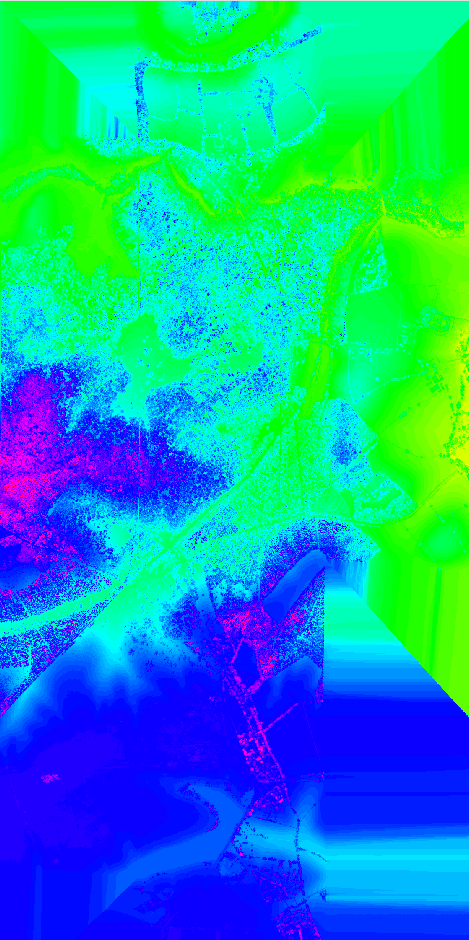
interp_full_region.png
(293.7 KB) -
added by mark1 17 years ago.
interpolated full region
-
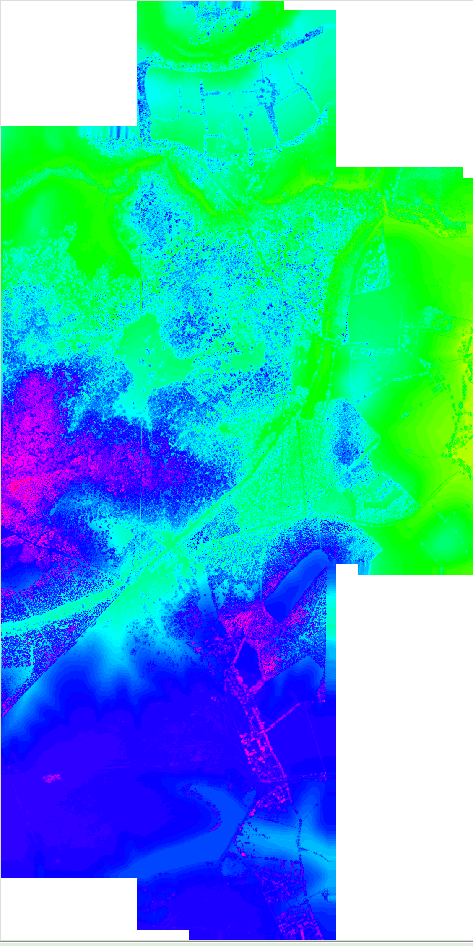
interp_with_mask.png
(305.4 KB) -
added by mark1 17 years ago.
interpolated with mask
-
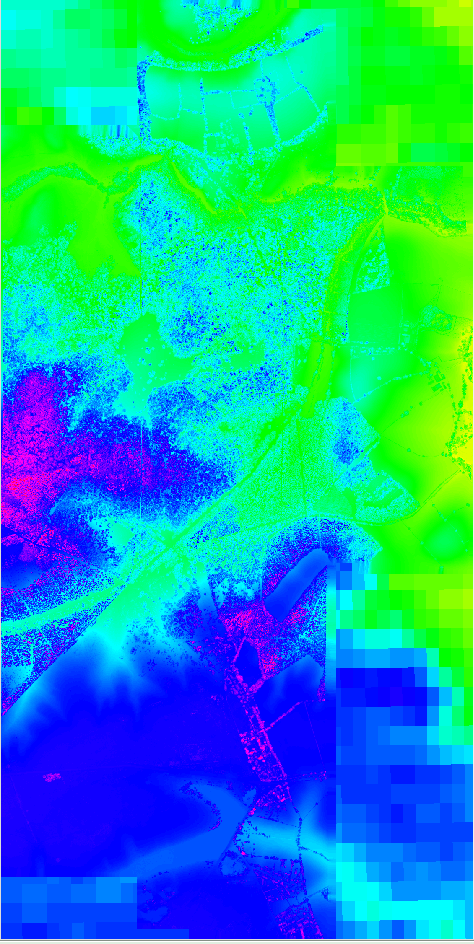
combo_srtm_lidar.png
(341.8 KB) -
added by mark1 17 years ago.
Combined SRTM and Lidar DEM
Download all attachments as: .zip